ISO, APERTURE & SHUTTER SPEED REVIEW. Please watch for a review. You will be required/expected to shoot in full Manual for the majority of AP assignments.
|
|
|
|
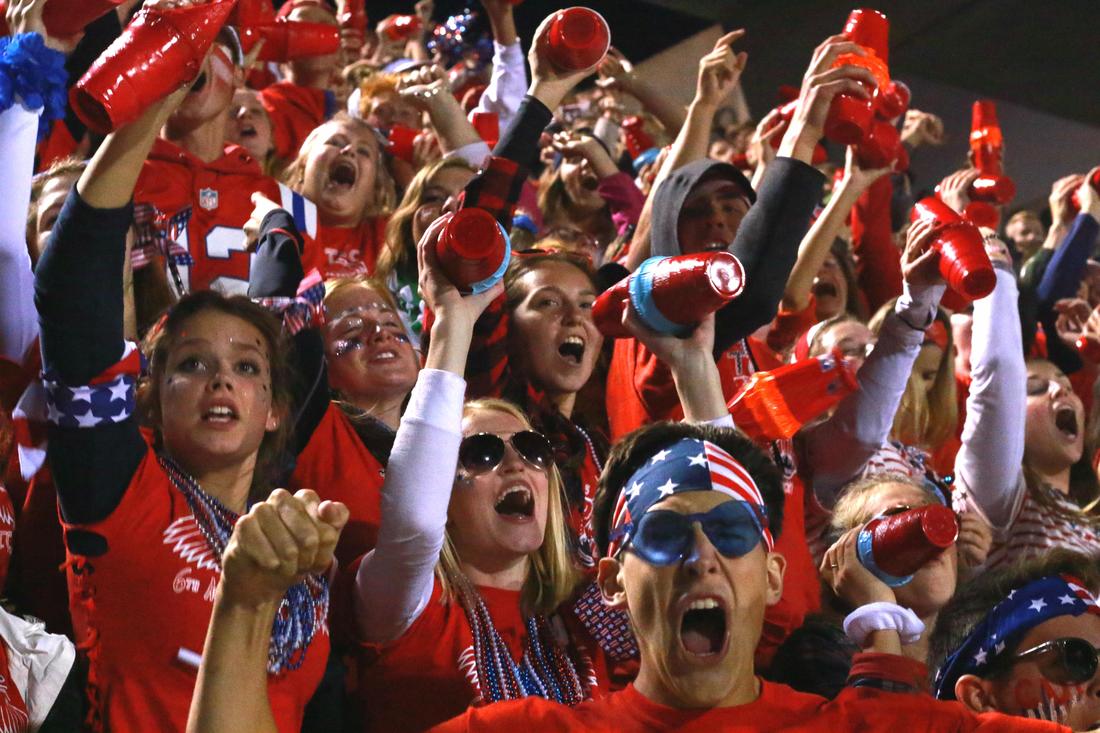
Assignment 1: Sports and Action 12 photos (tripods available)
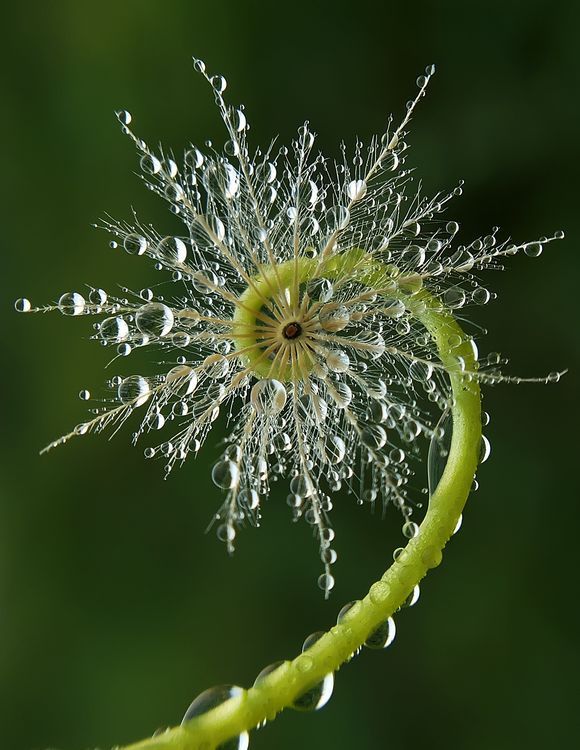
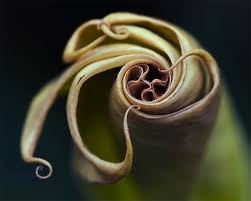
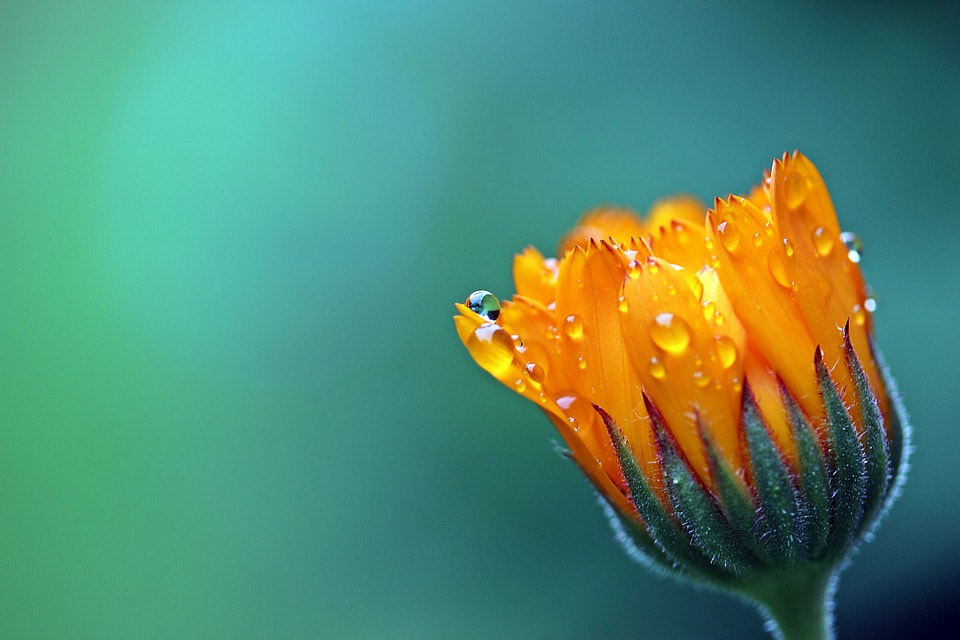
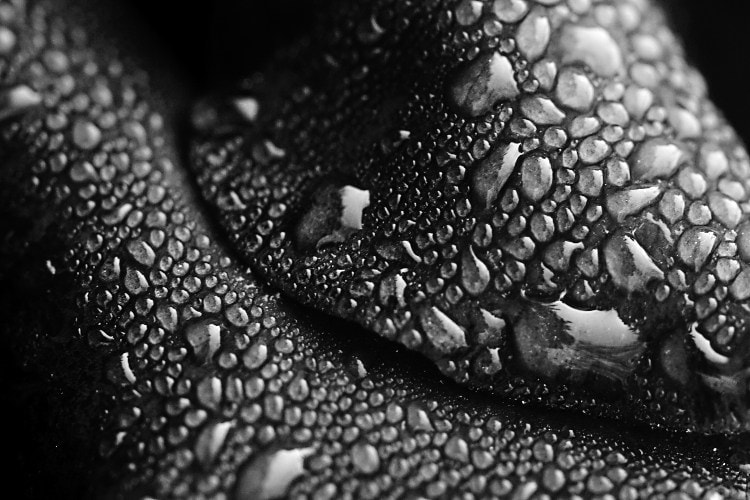
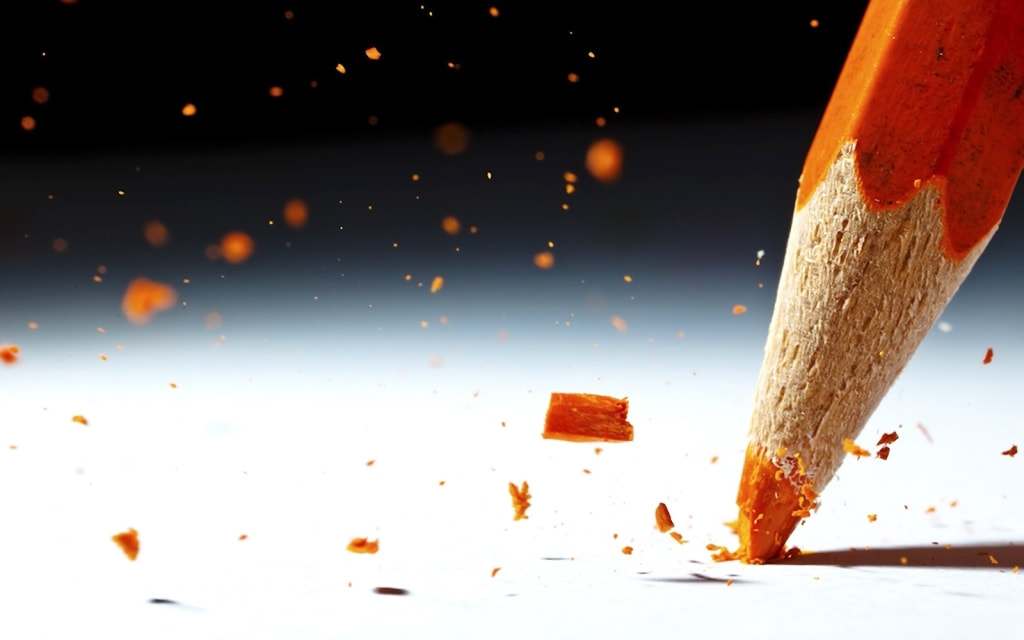
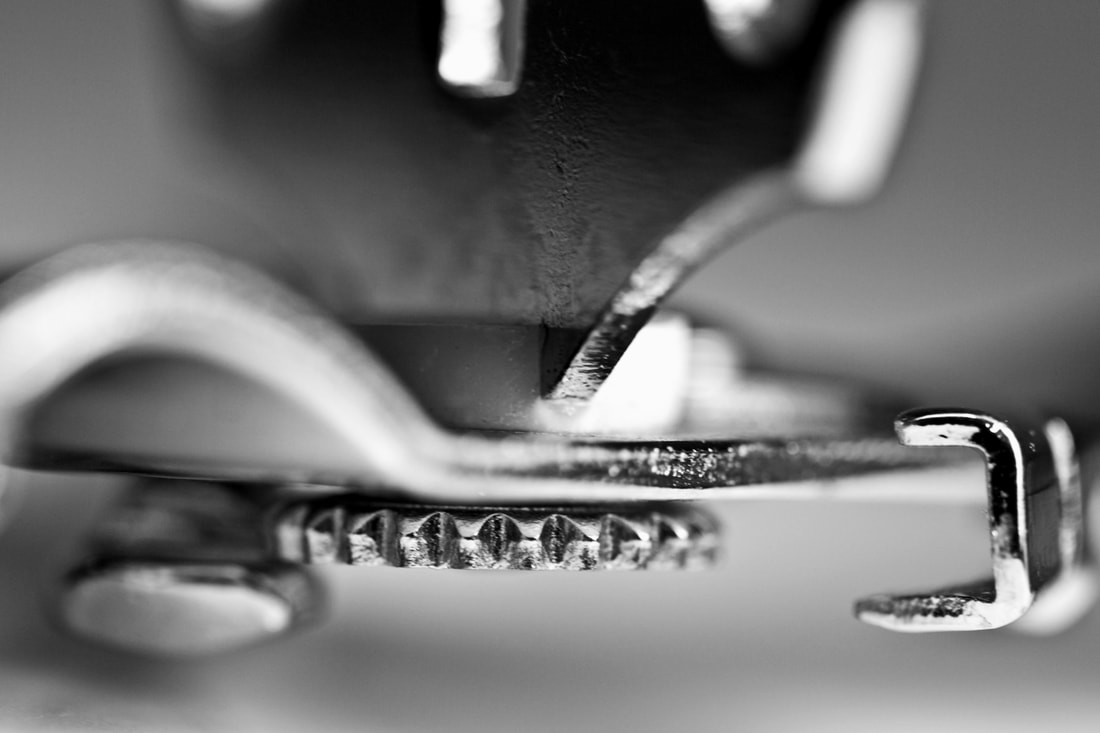
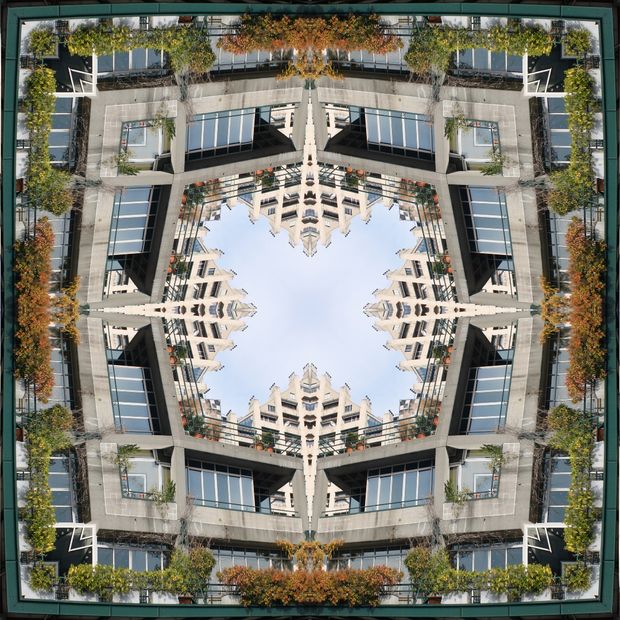
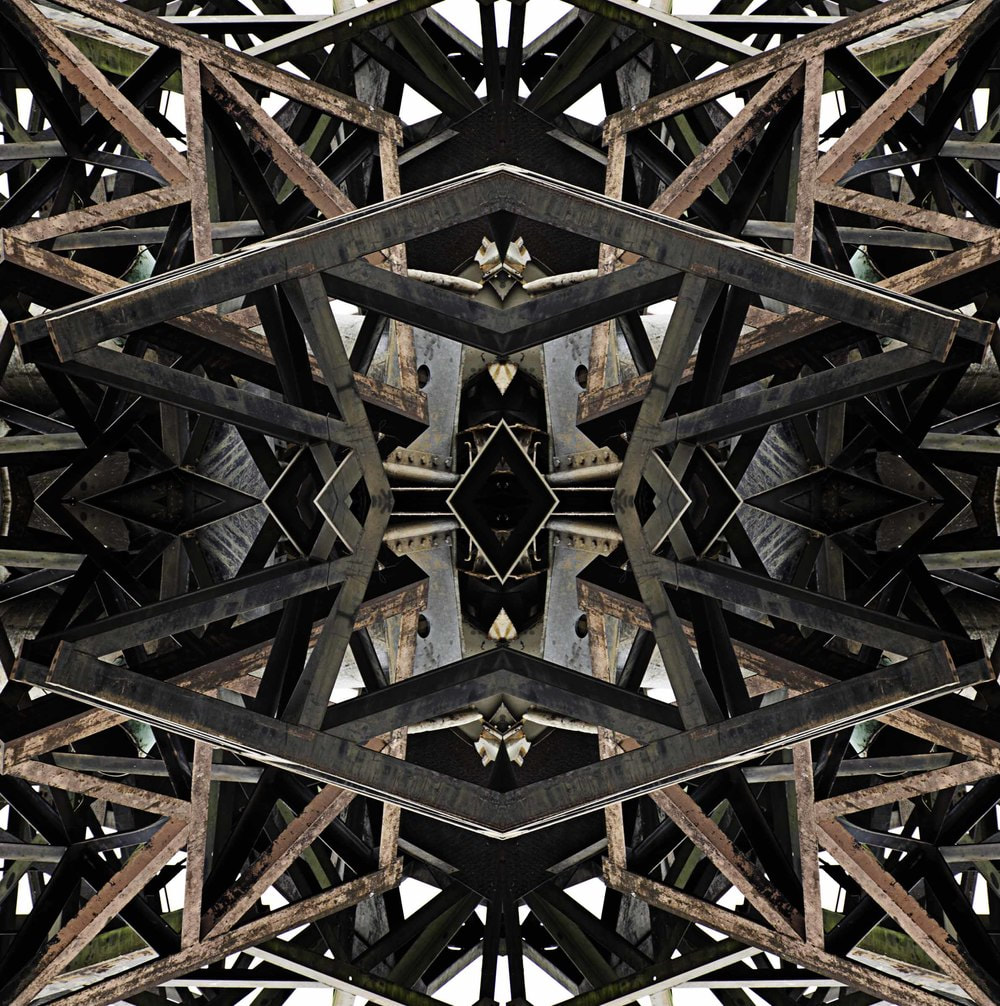
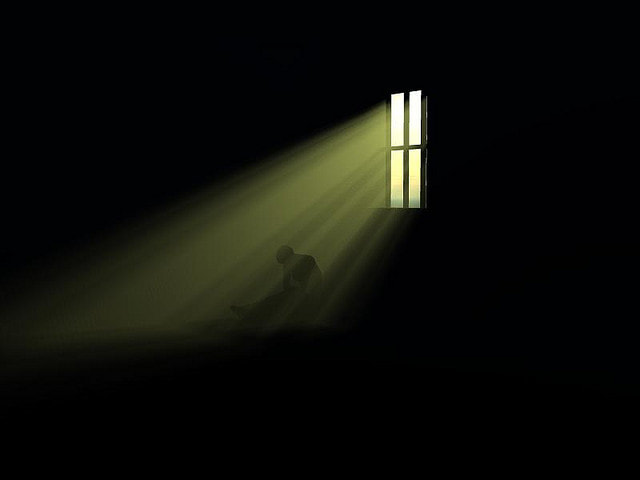
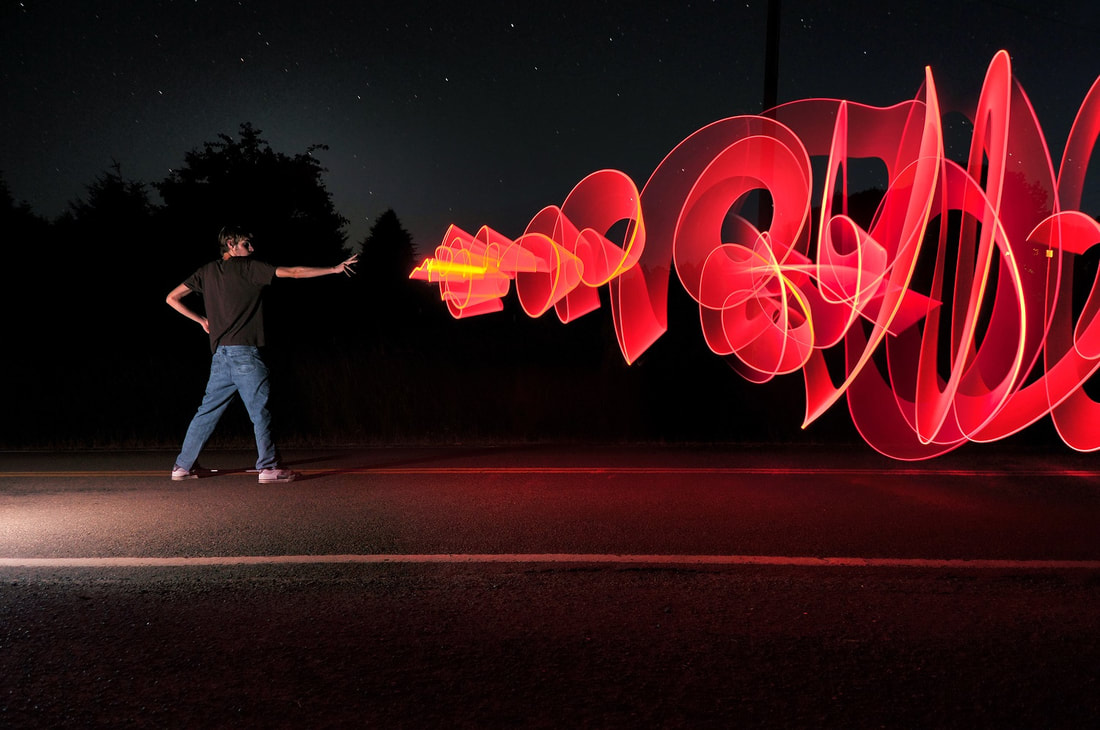
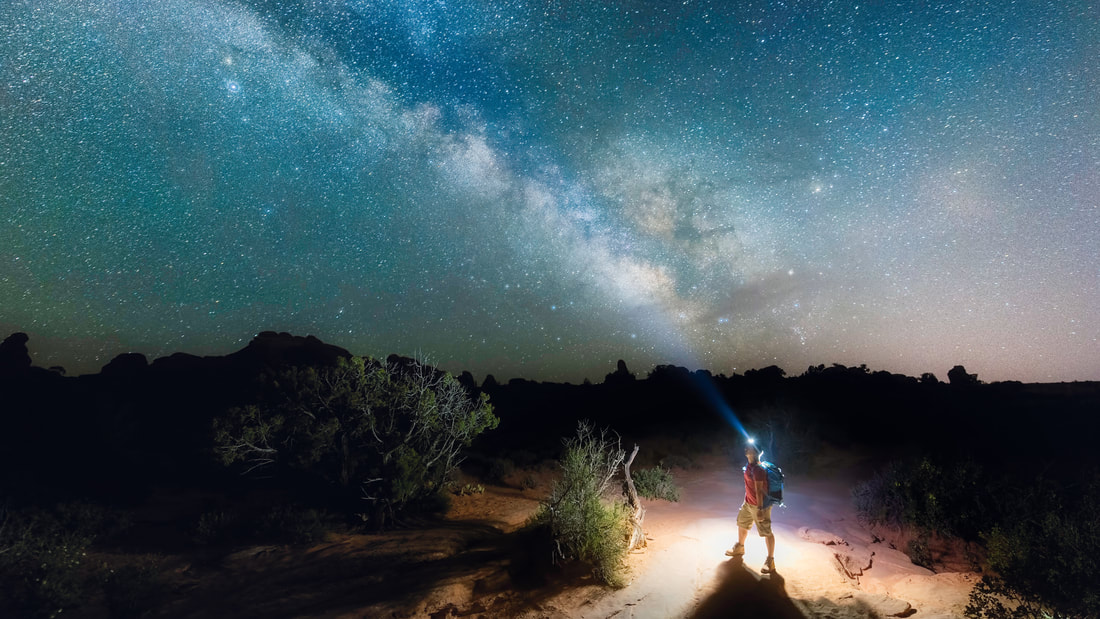
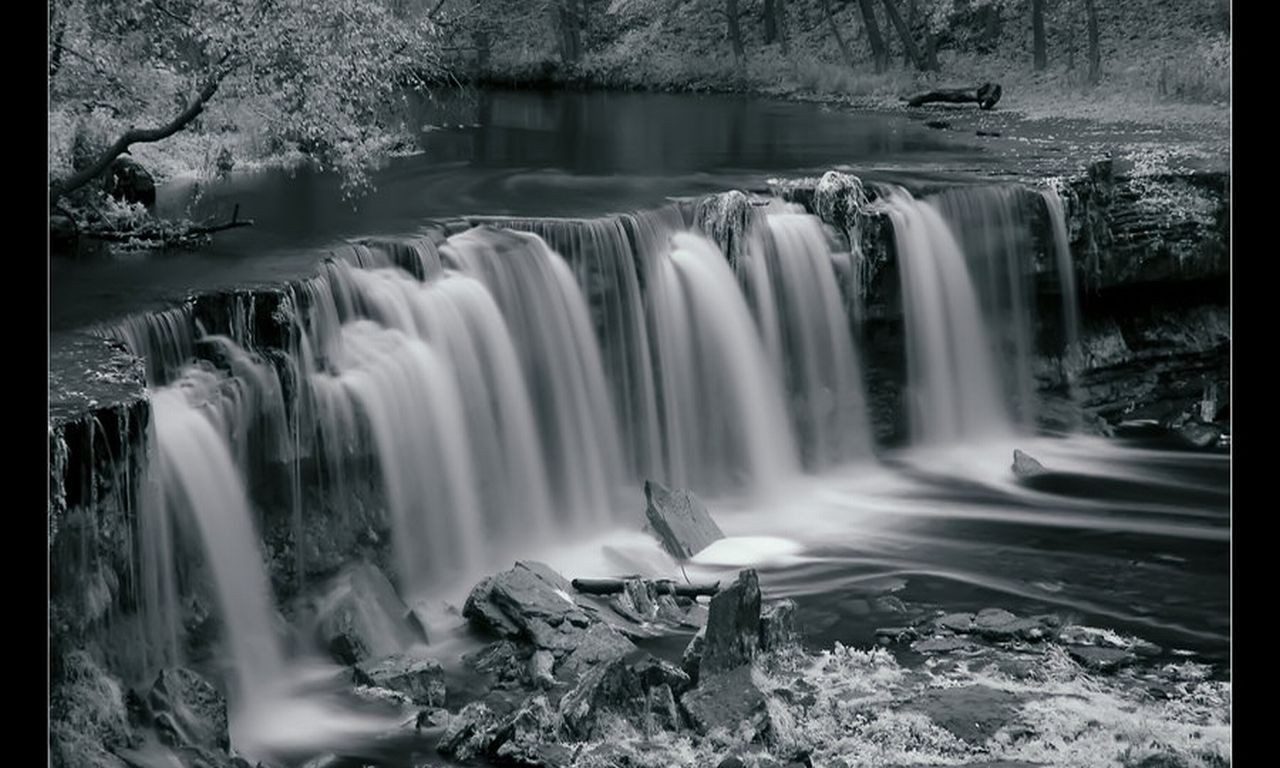
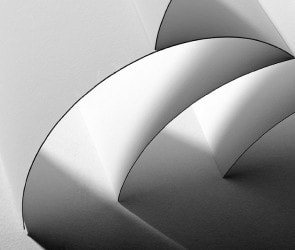
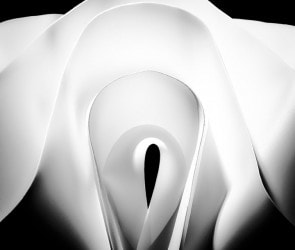
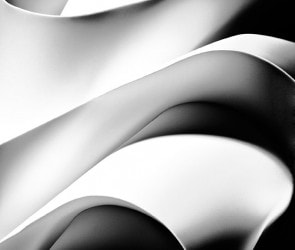
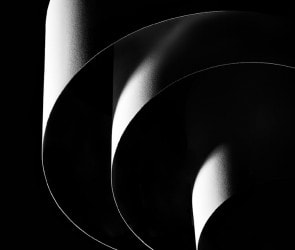
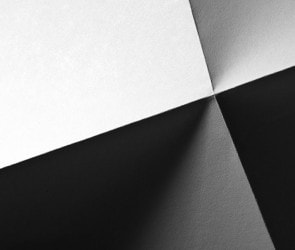
The emotion in close-up portraits, the action, motion blur, pan blur, selective focus, freezing high speeds, etc... Assignment 2: Low Light 12 photos Tripod or stable surface. Tripods may be checked out for use. No flash. My definition of low light with the sun: Shooting 30 minutes or later AFTER sunset, shooting 30 minutes or early BEFORE sunrise. (the sun should be nonexistent on the horizon) Urban landscapes/architecture, still lifes, portraits, street photography, advanced light painting, landscapes, long exposures at night....ENDLESS OPTIONS... Assignment 3: Milky Waterscapes Photography 12 Photos For this assignment, you will be practicing with more shutter speeds and ISO, shooting in Manual exposure mode to capture milky water effects. * A long shutter speed will be needed. You will need to shoot in the evening/early night with a tripod and ISO 100. You may want to check out the wide angle lens and the graduated Neutral Density (ND) filter to help you get longer exposures if shooting in brighter light. Assignment 5: Still Life 12 photos (your own props, art dept. props) Still Life. Lighting. Props. Staging a shoot. Being prepared. Be sure to compose the entire frame. **12 photos but must include 1 of each from the below setup: 1) High key, camera from above subject, on white 2) High key, camera in front of subject, on white 3) Low key, camera in front of subject, on black 4) Low key, on black, camera directly from above. 5) mimic a MODERN SPIN ON THE DUTCH VANITAS. MODERN VANITAS EXPLANATION AND EXAMPLES. READ THROUGH COMPLETELY TO UNDERSTAND THIS SHOOT. put your own spin/interpretation on the subject. Instructions on how to HERE. Additional resource: https://speckyboy.com/30-stunning-examples-of-still-life-photography/ TIPS for Low Key Photography: Low-key photography is a terrific challenge for both the novice and the experienced. It is a very simple technique that brings instant drama to an image but could take a lifetime to master. Like most other forms of photography, it is all about illumination and elimination. A low-key image is one that contains predominantly dark tones and colours. Like high-key images, they convey atmosphere and mood. But where a high-key image feels airy and light, a low-key is usually dramatic and full of mystery. And where high-key lighting over-lights the subject to reduce contrast, low-key lighting creates striking contrasts through reduced lighting. Shadows are now the primary element of the composition. Usually, a single source of lighting is used to achieve this composition. Depending on the results you are looking for, you might also make use of a fill light or reflector. As a result, low key images often have a rather dark dramatic quality to them.Camera Settings – The only setting that should absolutely stay constant is the ISO. Set it to 100 (or as low as your camera will let you) and never move it. Keeping your ISO low will give you good image quality, keeping it both dark and noise-free. Then it is just a matter of adjusting the shutter speed and aperture to achieve the desired effect for the light you've chosen. Lighting – Choice of light is all up to the photographer. You have only one key light so the only choices you have to make now are direction and strength. The only ‘rule' you should impose on your self when shooting low-key is to never allow light to reach your background. I know, never say never. But unless you have a particular reason to add texture there, don't do it. This is called ‘contamination'. Assignment 6: Jerry Reed-inspired paper studies Jerry Reed-inspired Paper studies 12 images Requirements: [use] light and shadow to create line and form, in a way that emphasizes essential elements [shape, texture, line, value, form] allowing the work to speak directly. Images MUST be edited in black and white with a FULL range of values (black to middle gray to white). Over time, I have come to see that what motivates me is the result of my having redirected how I make images, turning from the externally directed position of witness to that of author. In so doing, I accept the entire authorship of the creative process from my creation of the paper sculpture to making of the fine art print. Paper Work, my current three-year project is comprised of twenty-six images. In my studio, I shaped two-dimensional art papers giving them edges and volumes, then lit them dramatically utilizing Fresnel lighting to emphasize their three-dimensional forms. Though ephemeral, my forms are preserved photographically. Assignment 7: Macro 12 images due You may enjoy photographing bugs, flowers, small pieces of trash, electronics, mundane household objects that you wouldn't normally look at closely, parts of the body (please keep this clean & appropriate), toys, leaves, water droplets, gemstones, and food, among other things. Pay attention both to the subject that is in focus, and also to the quality of the out-of-focus regions. Macro is the art of seeing in detail. Lenses are available with much longer focal lengths than the human eye allowing us to magnify a subject beyond our natural ability to see it. It's a real pleasure to take a photograph that lets us see that which we normally could not. This is how your assignment will be graded: showing me what is normally not seen. GET IN CLOSE! NOW CLOSER. AND STILL CLOSER! Requirements: 1) Plants (use a water spray bottle to mist droplets, for variety) 2) Colors in Macro (see video on left) 3) Man Made Objects (magnified details of the ordinary) GETTING MORE EXPERIMENTAL FOR YOUR BREADTH PORTFOLIO; http://www.studentartguide.com/articles/creative-photography-ideas Assignment 8: Kaleidoscope in Photoshop (yes, you MUST use Photoshop. Don't argue with me.) *** ONLY 2 POLISHED IMAGES DUE Assignment 9: Conceptual Food Photography https://www.ignant.com/2013/05/14/cut-food/ This is how they did it: https://www.npr.org/sections/thesalt/2013/11/04/241848440/how-to-levitate-a-sandwich-modern-cuisine-spills-photo-secrets https://www.youtube.com/watch?v=a-JMFlNIZ4M https://www.youtube.com/watch?v=RCUKSr5w5Lg use whatever lighting techniques you prefer. no guidelines at this point except great shots, ONLY 2 photos due Requirements: 1) Bite It, 2) Spoon It (get interpretive, its not just about the spoon), 3) Cut It, 4) Drip It, 5) Pull It, 6) Melt It, or 7) Toss It Assignment 10: Digitally or Physically Embroidered due 1 Photograph - must be a NEW photo shot specifically for the assignment Research Shaun Kardinal *** MUST FOLLOW GUIDELINES FROM STEREOTYPE ASSIGNMENT HERE http://clonephotography.weebly.com/stereotypes-collage.htmlclonephotography.weebly.com/stereotypes-collage.html Assignment 11: Reflection Photographs due 6 Photographs Assignment 12: Shadow as focal point due 6 Photographs ALL DUE BY FRI, JANUARY __: NO LATE WORK ACCEPTED. ALL DEADLINES FINAL UNLESS ARRANGED BY TEACHER. A ZERO WILL BE GIVEN TO ANY ASSIGNMENT TURNED IN AFTER THE 3 DAY EXTENSION DEADLINE. 18 images: 9 color and same with 9 b&w edits
Slideshow
Assignment 1: Studio Lighting Patterns due ___
1. Front
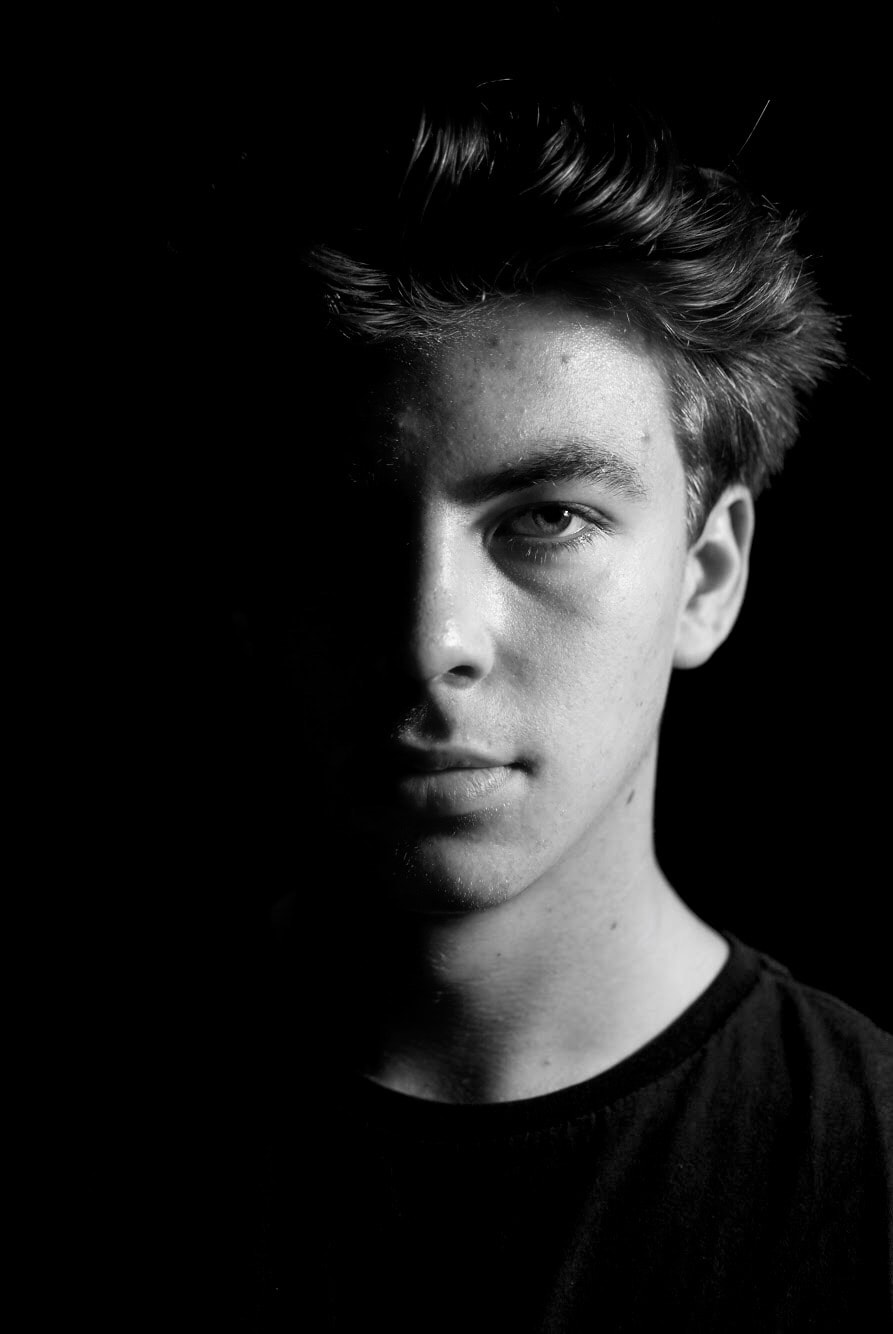
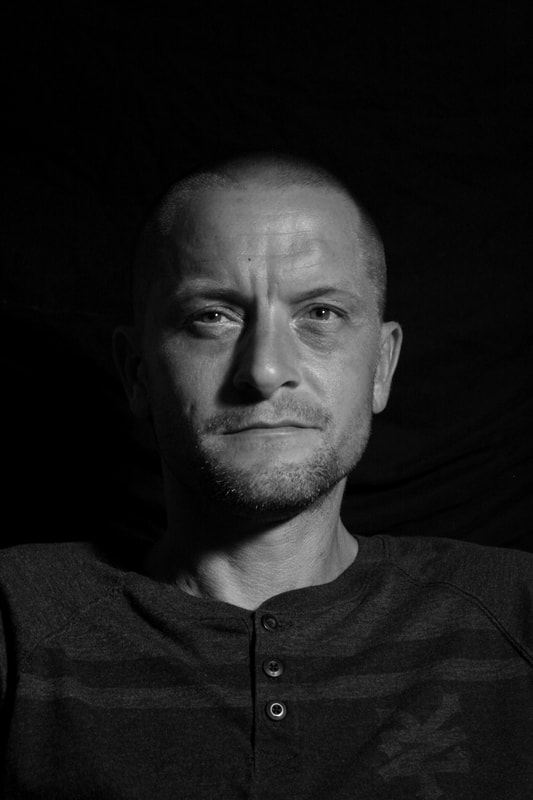
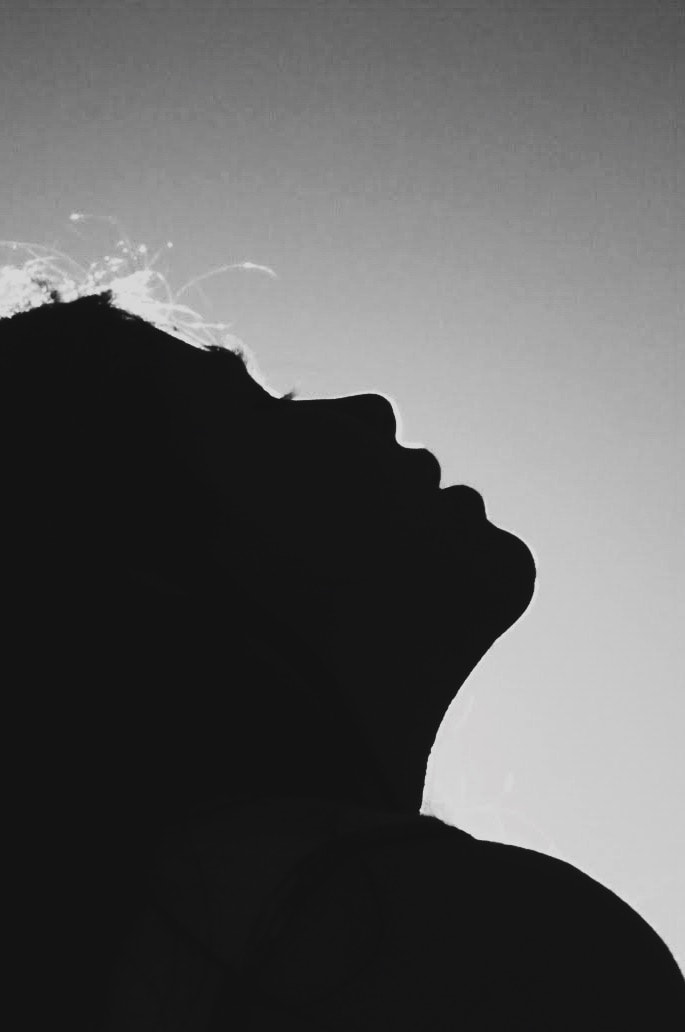
2. Butterfly/Paramount 3. Rembrandt 4. Short Lighting 5. Broad Lighting 6. Loop 7. Split 8. Profile (if desired, use a reflector to fill light onto the subject's face) 9. Silhouette (if desired, use a reflector to fill light onto the subject's face) | ||


TIPS for High Key Photography: With high key photography, multiple powerful sources of lighting are strategically positioned to eliminate harsh shadows from images, giving them a very light and optimistic feel. Components of the image with rich colors stand out and areas with lighter color wash out, almost to a white. High key is an excellent choice for both color and black and white photos.With a fast wide aperture you would probably be shooting at around the optimum aperture the lens is capable of. Keep your ISO at around 100 or anything lesser that the camera is capable of. The last thing is the shutter speed. Set your shutter speed so that the image is overexposed by two to three stops. Start at two stops, take a few test shots, evaluate them and then take it from there.
|
|
|
|
|